

Step 2 · Connect the Apps
Connect with FlutterFire
Run one FlutterFire CLI command for each app to automatically write your Firebase configuration files.
FlutterFire CLI Auto-Config
Rather than manually downloading and copying config files, the official FlutterFire CLI registers the applications in your Firebase project and generates firebase_options.dart with exact API keys.
1. Connect the Admin Panel#
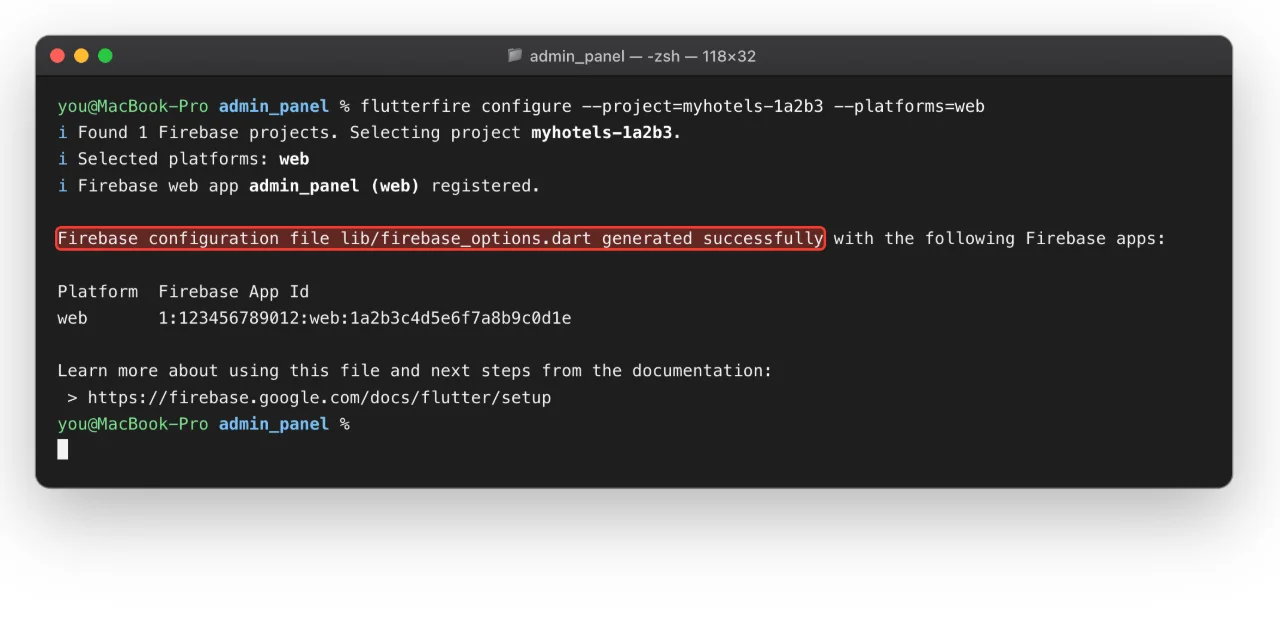
The Admin Panel is a Flutter Web project. Run the command inside admin_panel/:
cd admin_panel
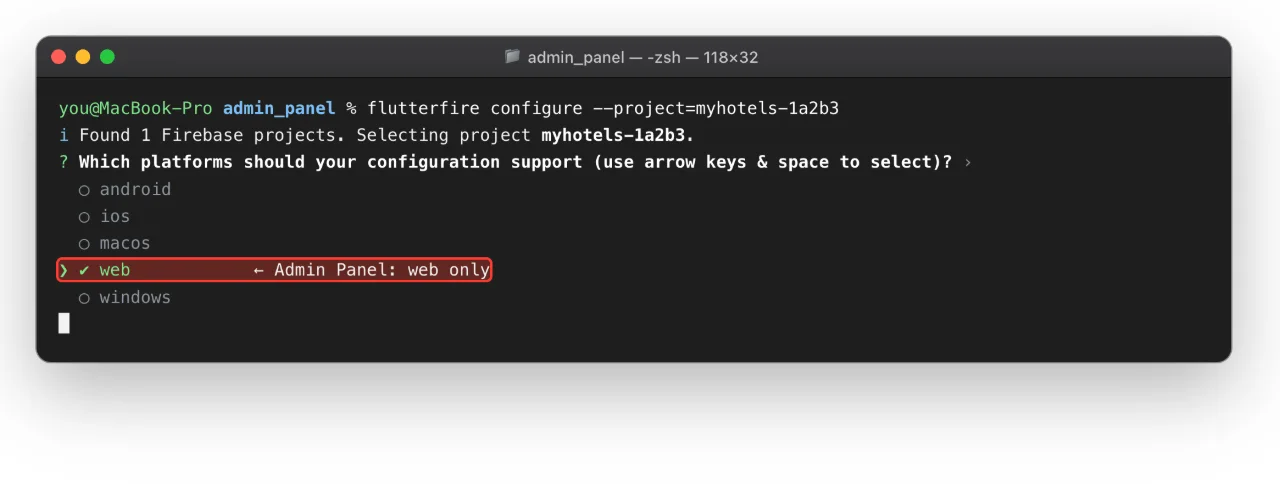
flutterfire configure --project=YOUR-PROJECT-ID --platforms=web
Select web when prompted. Answer yes (y) to overwrite any existing placeholder configuration.
2. Connect the Customer App#
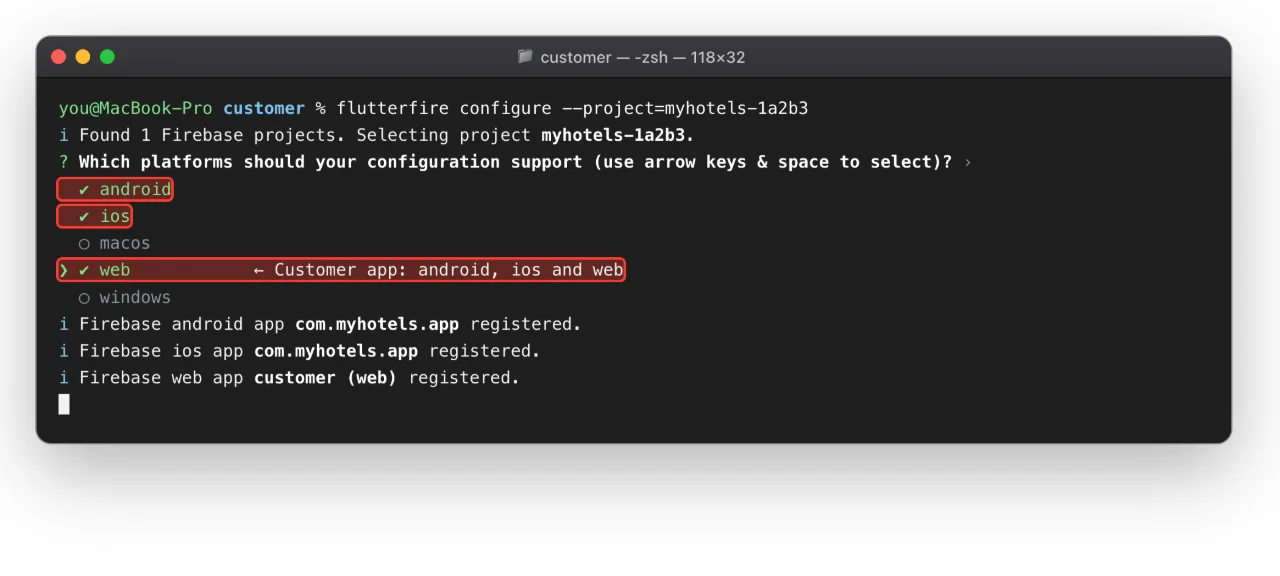
The customer project targets web, android, and ios. Run the command inside customer/ with your chosen package name:
cd ../customer
flutterfire configure --project=YOUR-PROJECT-ID --platforms=web,android,ios \
  --android-package-name=com.myhotels.app --ios-bundle-id=com.myhotels.app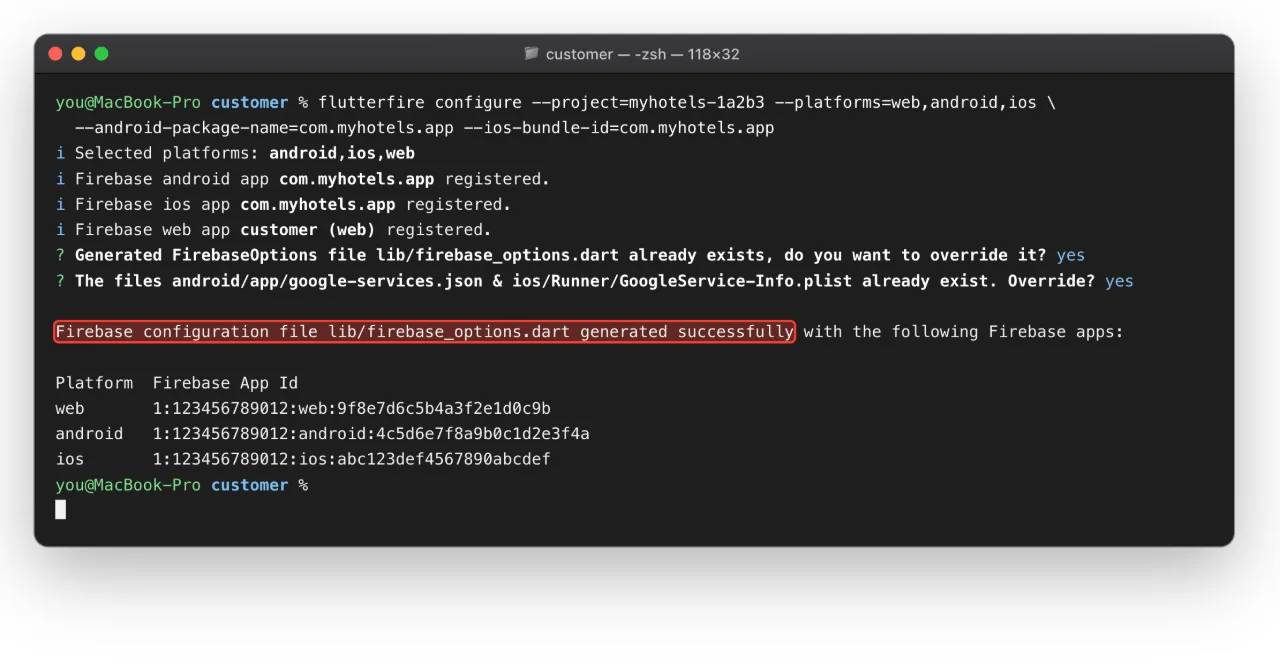
This automatically writes:
customer/lib/firebase_options.dartcustomer/android/app/google-services.jsoncustomer/ios/Runner/GoogleService-Info.plist
3. Update the Web Push worker files#
Open admin_panel/lib/firebase_options.dart and copy the keys inside the web configuration block into firebase.initializeApp({...}) in both:
admin_panel/web/firebase-messaging-sw.jscustomer/web/firebase-messaging-sw.js
firebase.initializeApp({
  apiKey: "AIzaSy...",
  authDomain: "your-project.firebaseapp.com",
  projectId: "your-project",
  storageBucket: "your-project.firebasestorage.app",
  messagingSenderId: "123456789...",
  appId: "1:123456789:web:abcdef..."
});