
Restaurant App & Panel
Where restaurant owners sign up, set up their restaurant and menu, accept orders, manage their own drivers and get paid. On the phone and in the browser.
The restaurant app (folder restaurant/) runs on Android and iOS. The restaurant web panel (folder restaurant_web/ in the Go4Food-web project) does the same work in a browser. Owners create their own account, pick a plan, upload their documents and add their restaurant. From then on, orders from the customer app ring on their home screen.


From sign-up to the first order#
A new owner goes through these steps once. Steps 2 and 3 only appear when you switch them on in the admin panel.
Create an account#
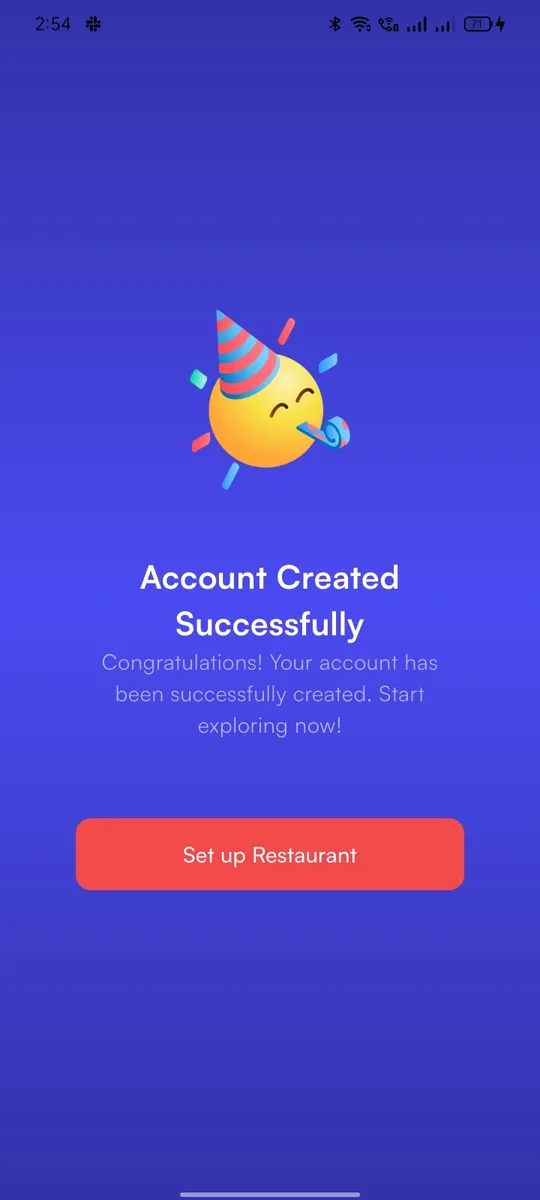
The owner taps Create account and fills in Enter Basic Details. The app shows Account Created Successfully and a Set up Restaurant button.
Choose a subscription plan#
Only when Subscription Plan is Active in Restaurant settings. The owner picks a plan and pays. Without an active, unexpired plan the app always opens on this screen.
Upload documents#
Only when Vendor Document Verification is Active. The owner fills in the Vendor documents you created and waits for you to approve them.
Add the restaurant#
Cover image and logo, restaurant details, opening hours. The restaurant goes online as soon as it is saved.
Add menu items and go online#
The owner adds dishes on the Menu tab and keeps Restaurant Status switched on. Customers can now order.
Sign in and sign up#
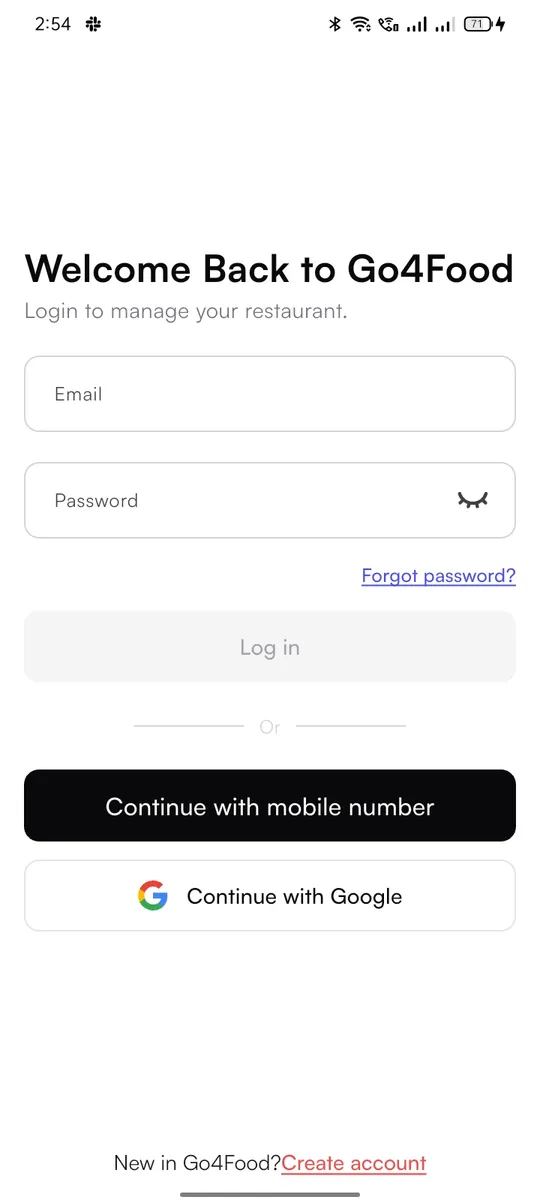
The login screen offers Email and Password (with Forgot password?), Continue with mobile number (SMS code) and Continue with Google. On iPhone there is also Continue with Apple. New owners tap Create account.

Enter Basic Details asks for first and last name, phone number, email, password, Confirm Password and an optional Refer Code from another restaurant. Tapping Save and Continue creates the account.
Subscription plans#
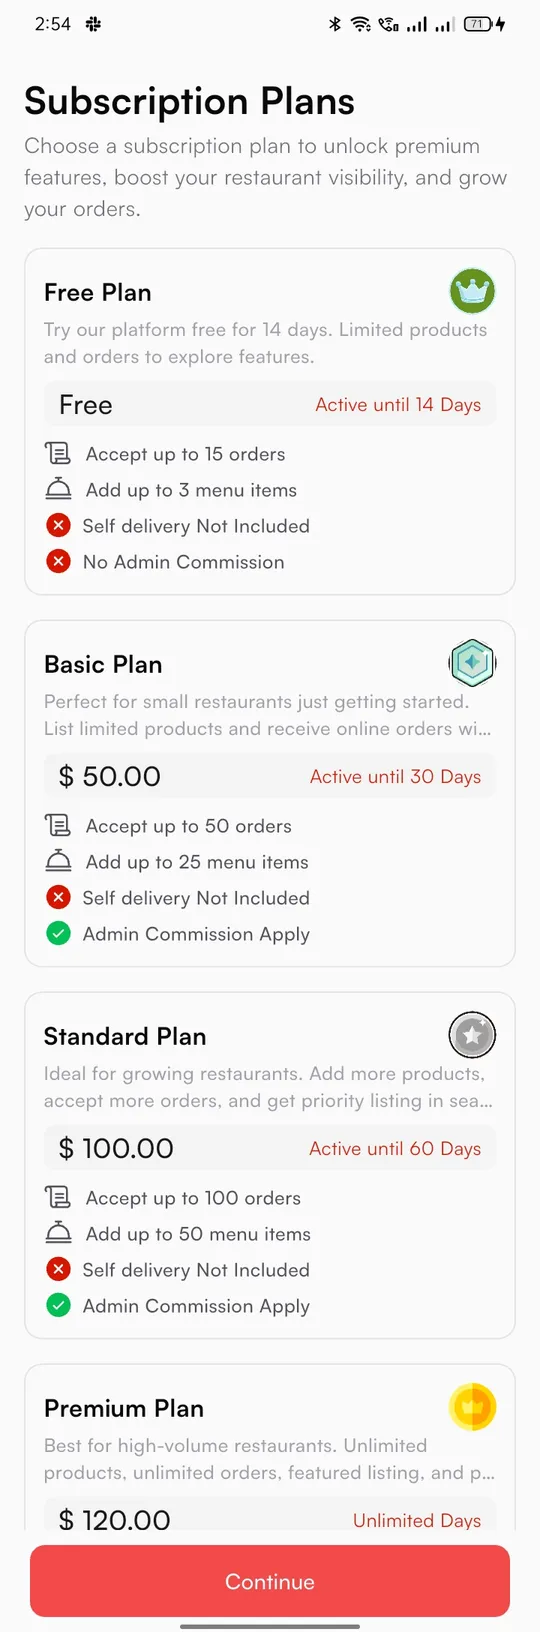
When subscriptions are on, the owner sees Subscription Plans right after sign-up, and again whenever their plan expires. Each card shows what the plan allows: how many orders, how many menu items, whether self delivery is included and whether admin commission applies. The owner selects a plan, taps Continue and pays with one of your payment gateways (a free plan needs no payment).

| Plan limit | What it does in the app |
|---|---|
| Accept up to … orders | Each accepted order uses one from the plan. Unlimited means no limit. |
| Add up to … menu items | The owner cannot add (or switch to in stock) more items than the plan allows. |
| Self delivery | Self delivery Available lets the restaurant use its own drivers. Not Included hides that option. |
| Admin commission | Admin Commission Apply means your commission is taken from each order. No Admin Commission means it is not. |
| Validity | Days until the plan expires, or Unlimited Days. |
You create the plans in Subscription plans. Owners can see their current and past plans in Profile > Your Subscription, and upgrade from the profile screen.
Required documents#
When Vendor Document Verification is on, a new owner can only open the Restaurant tab, which shows Documents. The other tabs stay locked and the home screen says the account is not verified. The owner taps Verify Documents and fills in every active Vendor document you set up in Documents & verification.


| Document Type | What the owner sees |
|---|---|
| File Upload | An upload box with Browse Image (one or two sides), for example a GSTIN or food licence certificate |
| Text Field | A text box, for example a registration number |
| Dropdown | A list to pick one option from |
| Radio Button | A set of options, for example the restaurant food category or "Does your restaurant serve alcohol?" |
Optional documents carry an Optional badge. After saving, each document shows Uploaded, then Approved or Rejected (with the reason) once you review it in Owners, restaurants & join requests. The owner taps Check Status to see if the account is verified. A rejected document can be uploaded again.
Verification off
If Vendor Document Verification is off, new owners are verified straight away and skip this screen.
Add the restaurant#
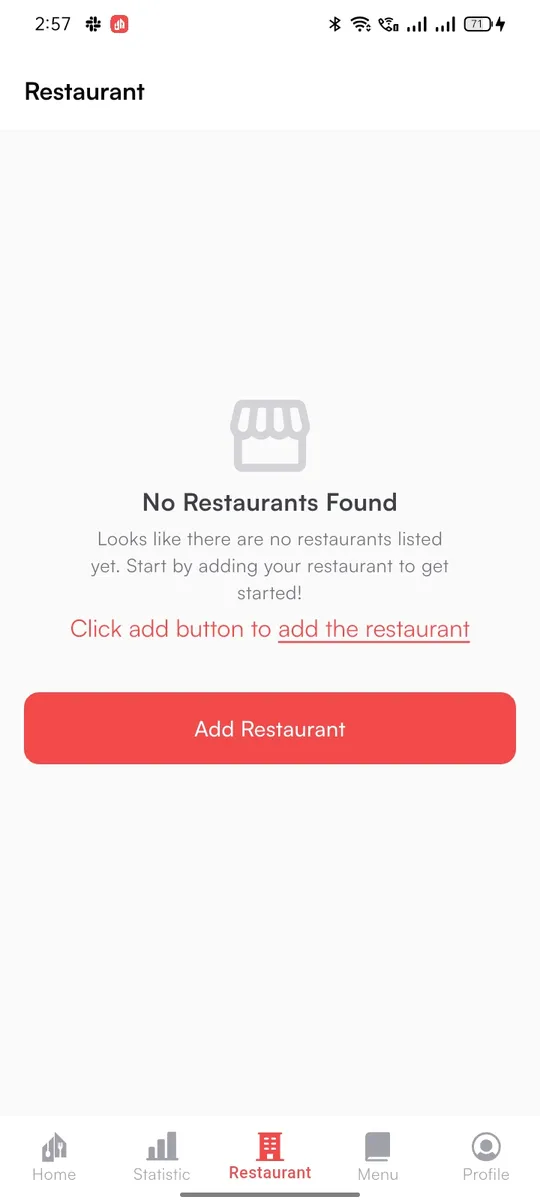
A verified owner without a restaurant sees No Restaurants Found. Tapping Add Restaurant opens three steps.
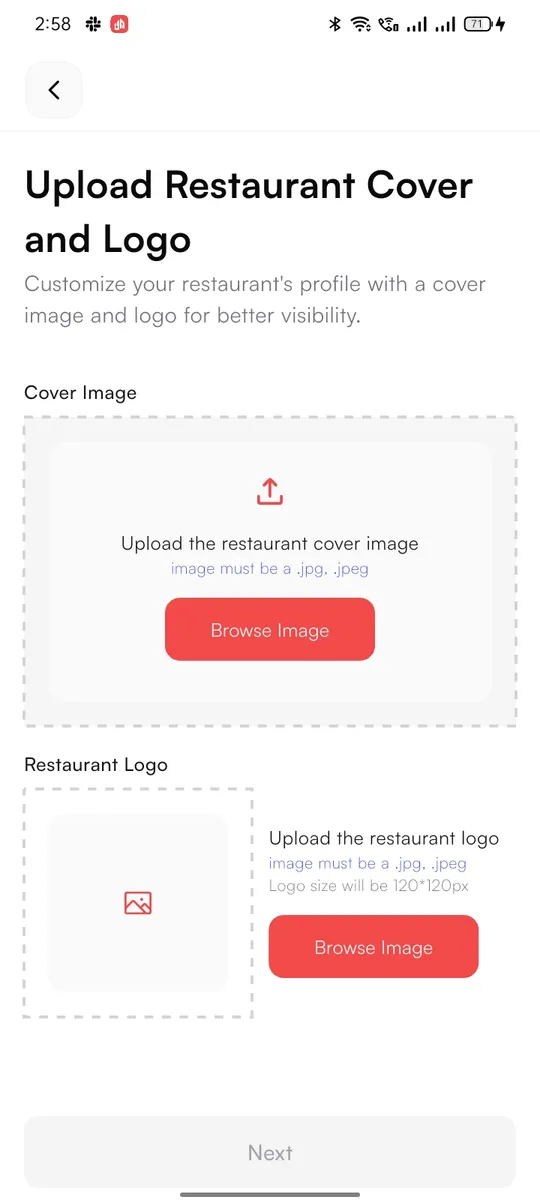

Upload Restaurant Cover and Logo#
A cover image and a logo (.jpg or .jpeg, logo 120 x 120 px). Both are required.
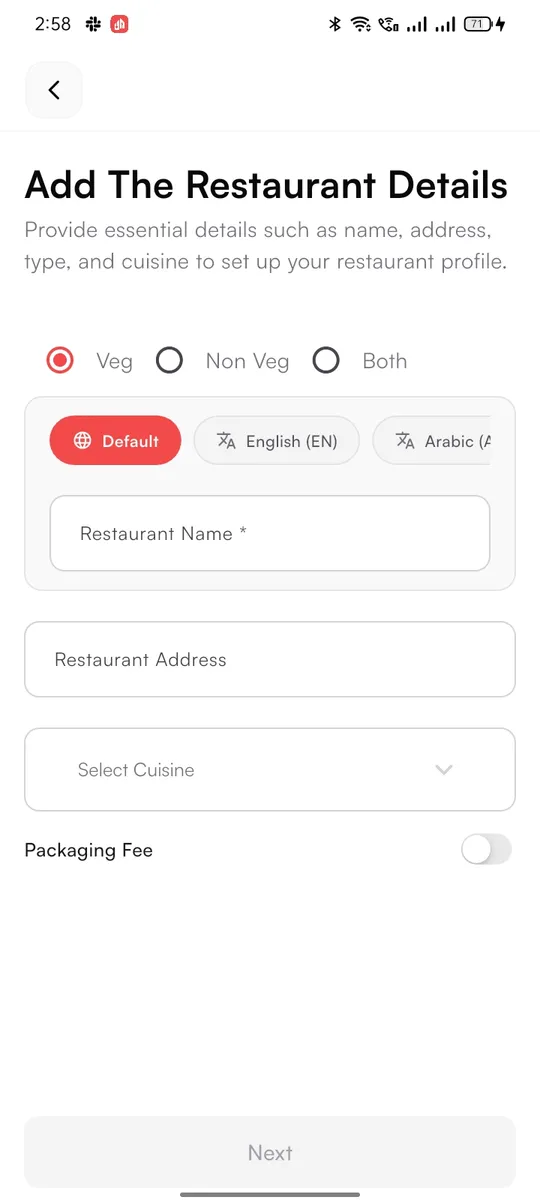
Add The Restaurant Details#
Veg, Non Veg or Both, the restaurant name (one tab per language you enabled), Restaurant Address picked on the map, Select Cuisine, and an optional Packaging Fee charged on each order.
Select Opening Hours#
A switch for each day of the week with opening and closing times. At least one day must be set.
The Restaurant tab then shows the restaurant: cover (Change Cover), name, cuisine, rating, address, active offers, delivery mode (Standard or self delivery), status and the weekly schedule. Edit Restaurant Details reopens the three steps.
Veg restaurants
A restaurant marked Veg can only add veg menu items. The add-item screen says so in a yellow banner.
Restaurant offers#
Under Restaurant Offers, Add Offer creates a coupon that customers can use at this restaurant.

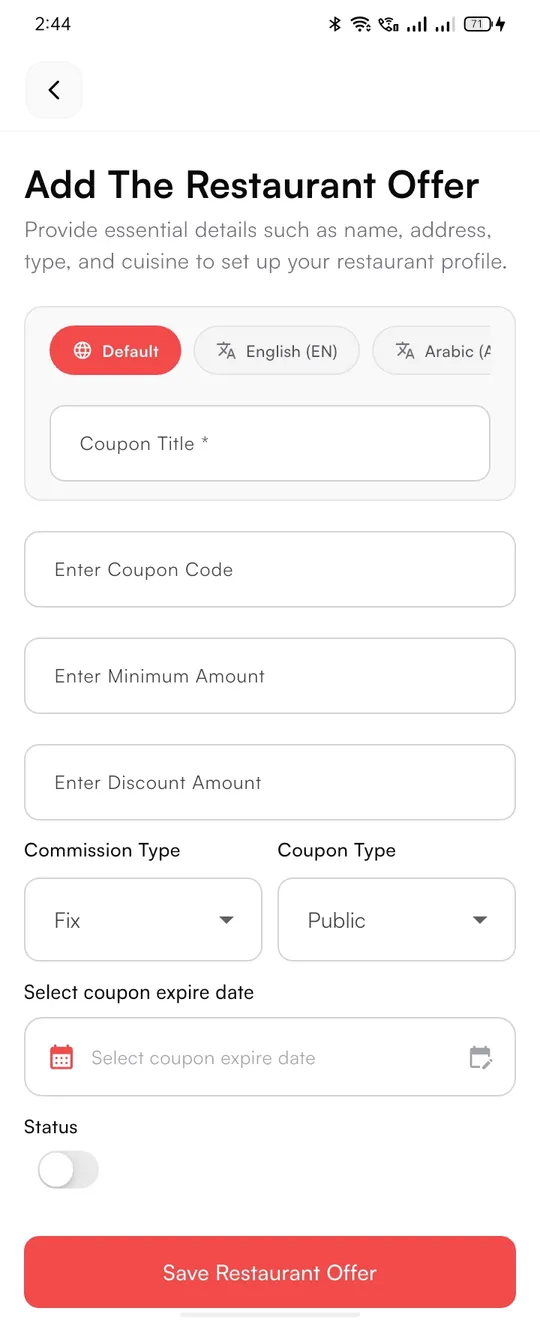
| Field | Meaning |
|---|---|
| Coupon Title | Name shown to customers (one tab per language) |
| Coupon Code | The code the customer applies |
| Minimum Amount | Smallest order total the coupon works on |
| Discount Amount | The discount value |
| Commission Type | Fix amount or Percentage |
| Coupon Type | Public (listed for everyone) or Private (only for customers who know the code) |
| Expire date, Status | When it stops working, and an on/off switch |
Home: new orders and accepting#
The Home tab has the Restaurant Status switch (open or closed for orders) and two lists: New orders and In Prepare. A new order arrives with a push notification.
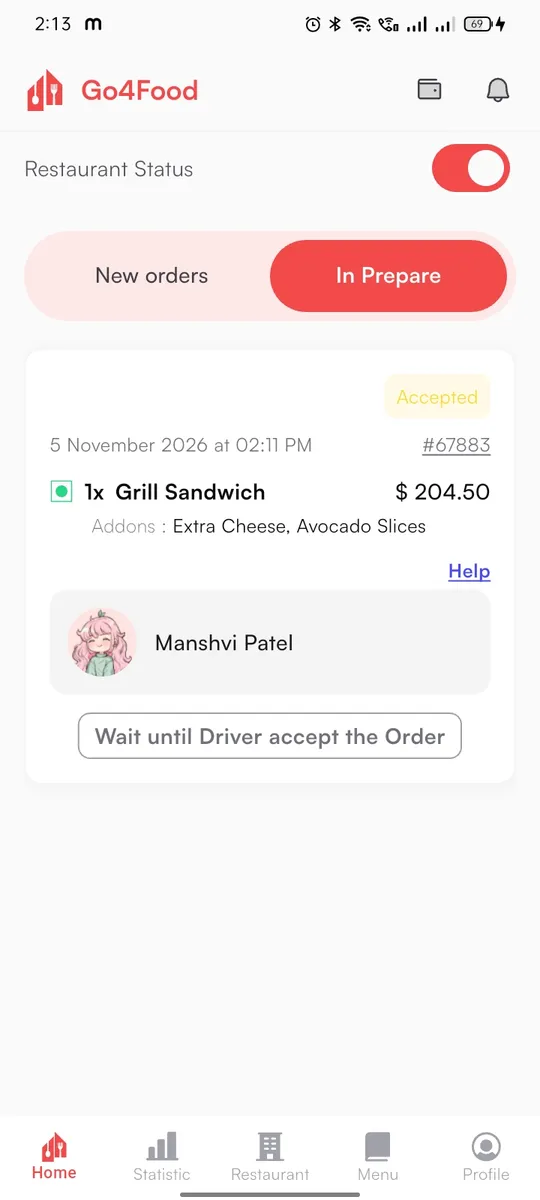

Each new order shows the items with their add-ons and the Estimated food preparation time. The time is the longest preparation time of the items in the order (10 minutes when no item has one). Go4Food uses it to work out when the food will be ready.
Accept or Reject#
Reject cancels the order and tells the customer. If the customer already paid, the full amount goes back to their wallet. Accept moves the order to In Prepare.
A driver is found#
For platform delivery, Go4Food offers the order to the nearest free driver. The card says Wait until Driver accept the Order. If no driver is online within the delivery radius, the app shows No Nearest Driver Available and the order is not accepted yet. A restaurant using self delivery picks one of its own drivers instead.
Order Ready#
Once a driver accepts, the owner taps Order Ready when the food is packed. If a driver rejects, the card shows that a new driver is being assigned.
Picked up and completed#
The card shows Driver picked up the order, and the order moves to All Orders as Completed when the driver delivers it. For take-away orders the owner taps Order Ready and then Complete Order.
Tapping an order opens Order Details: items, order ID, date, payment method, delivery type, pickup and drop-off addresses, the customer with a call button, and the bill (item total, discount, delivery fee, delivery tip, tax and other charges). Print prints the order, and the help icon opens support for that order.
Statistics#
The Statistic tab shows Order Statistics: a Total Revenue bar chart and a Total Orders chart (completed and cancelled), each switchable between weekly and Monthly.
Menu and adding items#
The Menu tab lists every item by category, with search, the price, rating, an In Stock switch, edit and delete. The + button asks how to add the item: Create New Product (fill in every field) or Import from Admin Products (pick ready-made items from the catalogue you created in Foods, cuisines & categories, optionally with taxes).

Creating a product takes five steps. The counter at the top right (for example 02/05) shows where the owner is. Several steps have a Generate button that fills the fields with AI when you set it up in AI Setting.


Add Menu Item#
Item image, In Stock, item name and description (per language), category, sub-category and food preparation time.
Add Price Details#
Price, Max purchase quantity, discount (Fixed or percentage) and the taxes that apply (the ones you created in the admin panel).
Add Addons Details#
Optional extras with a name and price, each with its own in-stock switch. Tap Save Addons for each one.
Add Variations Details#
Optional variations (for example size) with options and prices. Add Variation and Add Another Option add more.
Select Tags#
Tags such as Popular, Spicy, Vegan or Bestseller, from the list in Item Tags. Save publishes the item.
Self delivery and your own drivers#
A restaurant can deliver with its own drivers when all three are true: Self Delivery is Active in Restaurant settings, the restaurant's plan includes self delivery (when subscriptions are on), and the owner turns on SelfDelivery in Profile.

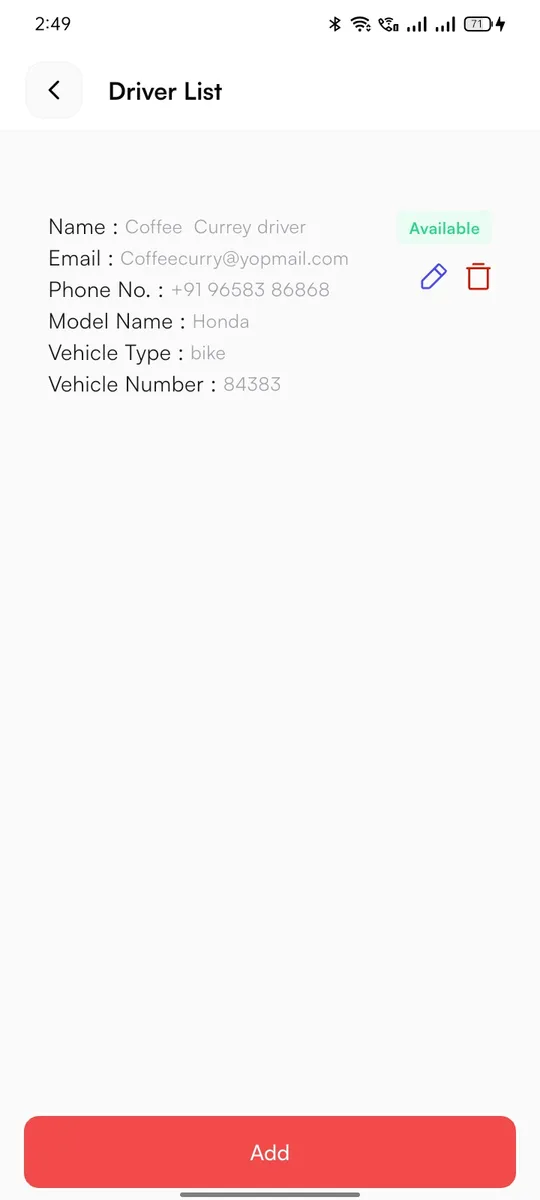
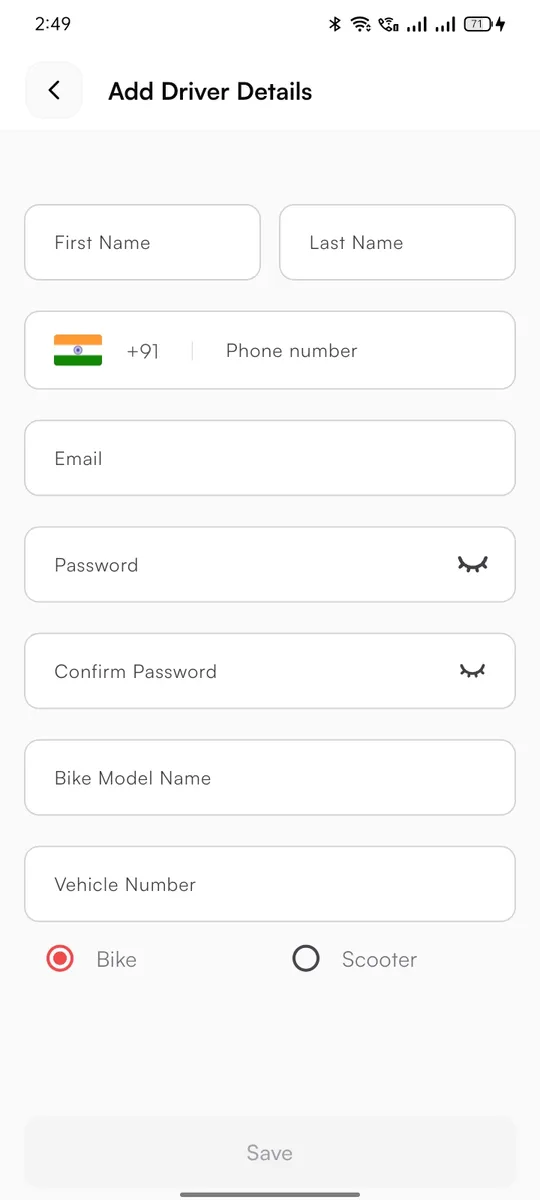
Drivers opens the Driver List, showing each driver as Available or On Order. Add opens Add Driver Details: name, phone, email, password, bike model, vehicle number and Bike or Scooter. The driver then signs in to the Driver app with that email and password. These drivers are verified automatically and only get this restaurant's orders.
Wallet, withdrawals and bank accounts#
My Wallet shows the balance with Transaction History and Withdrawal History. Every completed order adds an Order Amount Credited line, and your commission shows as Admin Commission Debited.


- Withdraw: enter an amount (at least the minimum you set), a note, choose a saved bank and tap Withdraw. You pay it out from Payout Request in the admin panel.
- Add Money: top up the wallet with any payment gateway you turned on.
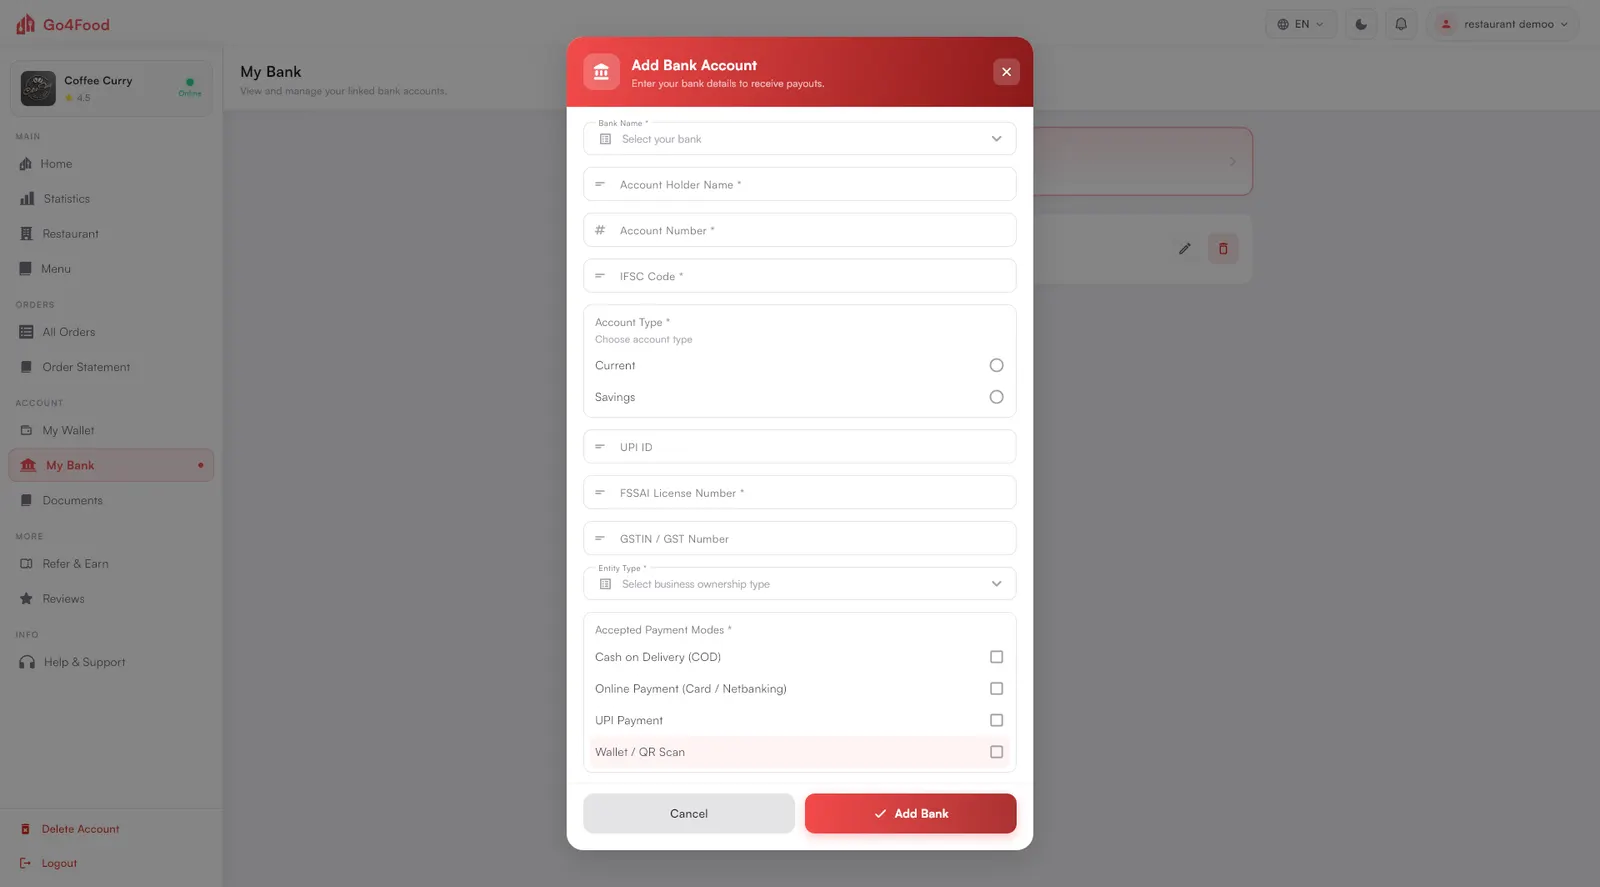
- My bank: add, edit or remove payout accounts. The fields come from the admin Bank Details Form.
Profile menu#
The Profile tab shows the owner, the current plan and every other screen.




| Screen | What the owner does |
|---|---|
| All Orders | Past orders in Completed, Rejected and Cancelled tabs, with a date filter |
| Your Subscription | Current and past plans: validity, price, purchase and expiry date, payment type |
| Notifications | New order requests, driver accepted, order delivered. Clear All empties the list. |
| Order Statement | Pick a time range and Download an Excel statement of orders |
| Refer & Earn | Share the referral code. Rewards follow your Reward Settings. |
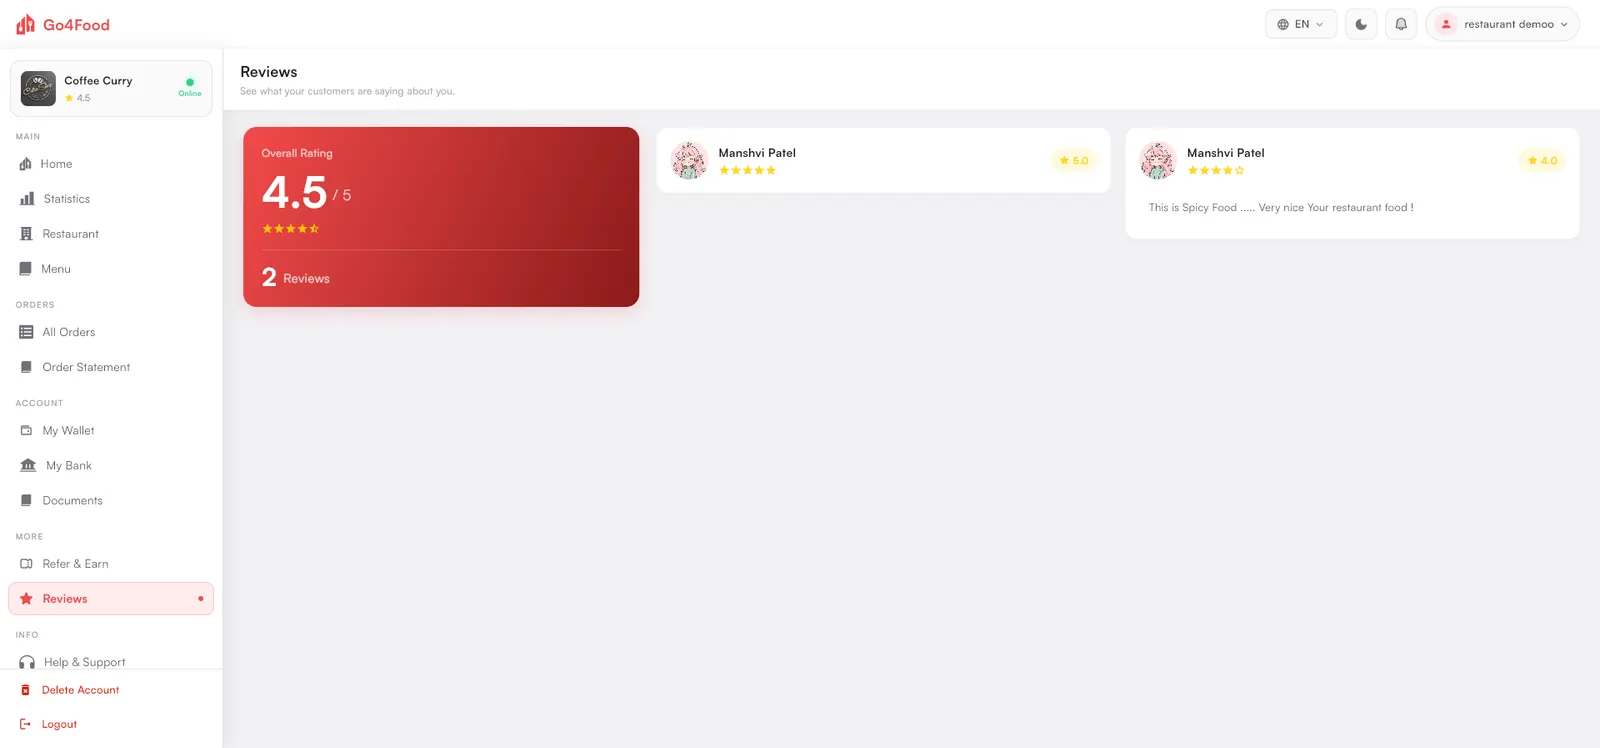
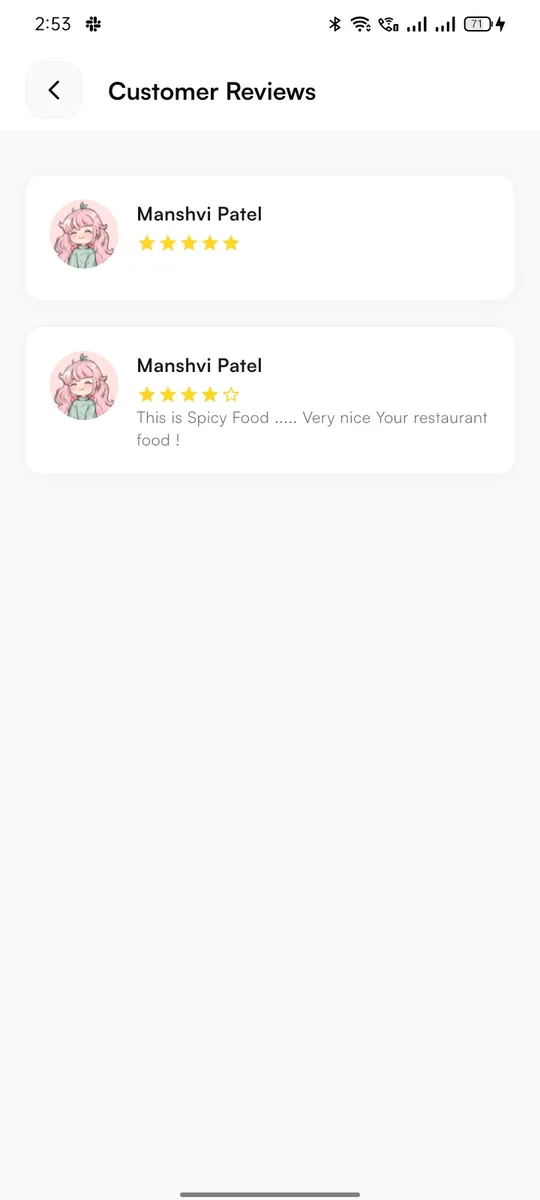
| Reviews | Customer ratings and comments for the restaurant |
| Help & Support | Get help with a recent order or Issues with Previous Orders, pick a topic and tap CHAT WITH US. All Support Tickets lists every ticket with its status. You answer them in Support tickets. |
| Edit Profile | Photo, name, email and phone number |
| Other | Document, Privacy & Policy, About, Terms, Dark Mode, Language, Delete Account, Logout |
The restaurant web panel#
Everything above also works in a browser at your restaurant panel address. Owners sign in with the same account. The left menu has Home, Statistics, Restaurant, Menu, All Orders, Order Statement, My Wallet, My Bank, Documents, Refer & Earn, Reviews and Help & Support. Build and publish it with the other websites: Deploy the websites.

Dashboard and orders#
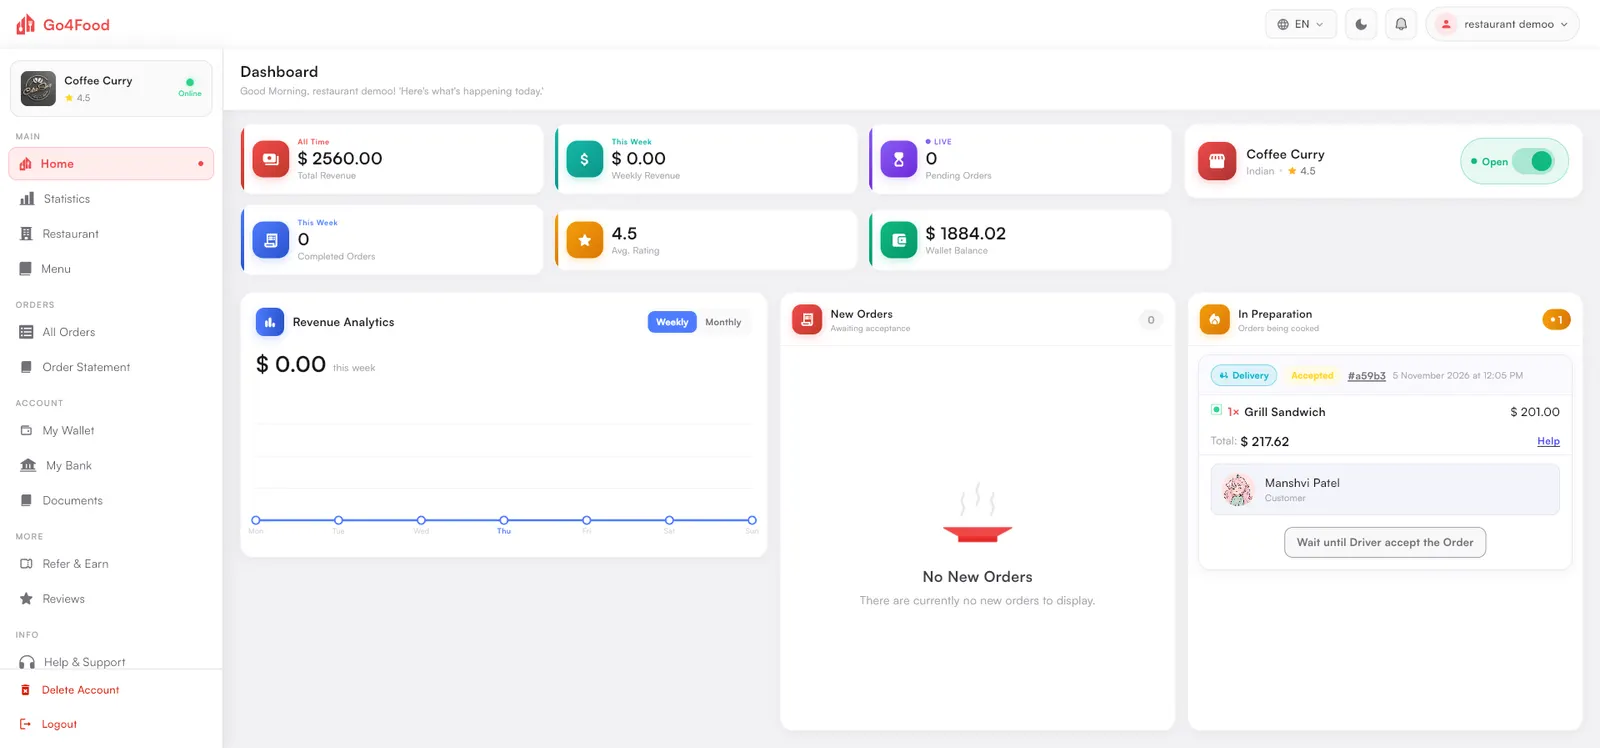
The dashboard shows revenue, pending orders, rating and wallet balance, the open/closed switch, and the New Orders and In Preparation columns. Orders move through the same steps as in the app.



Restaurant and menu#


Money, documents and support#