

Create the Firebase Project
One Firebase project holds the database, sign-in, storage and functions for every Zipkart app and panel.
Open the Firebase console#
Go to console.firebase.google.com and sign in with the Google account that will own your shop's backend. Use a company account if you have one, not a personal account you might lose.
Create a new project#
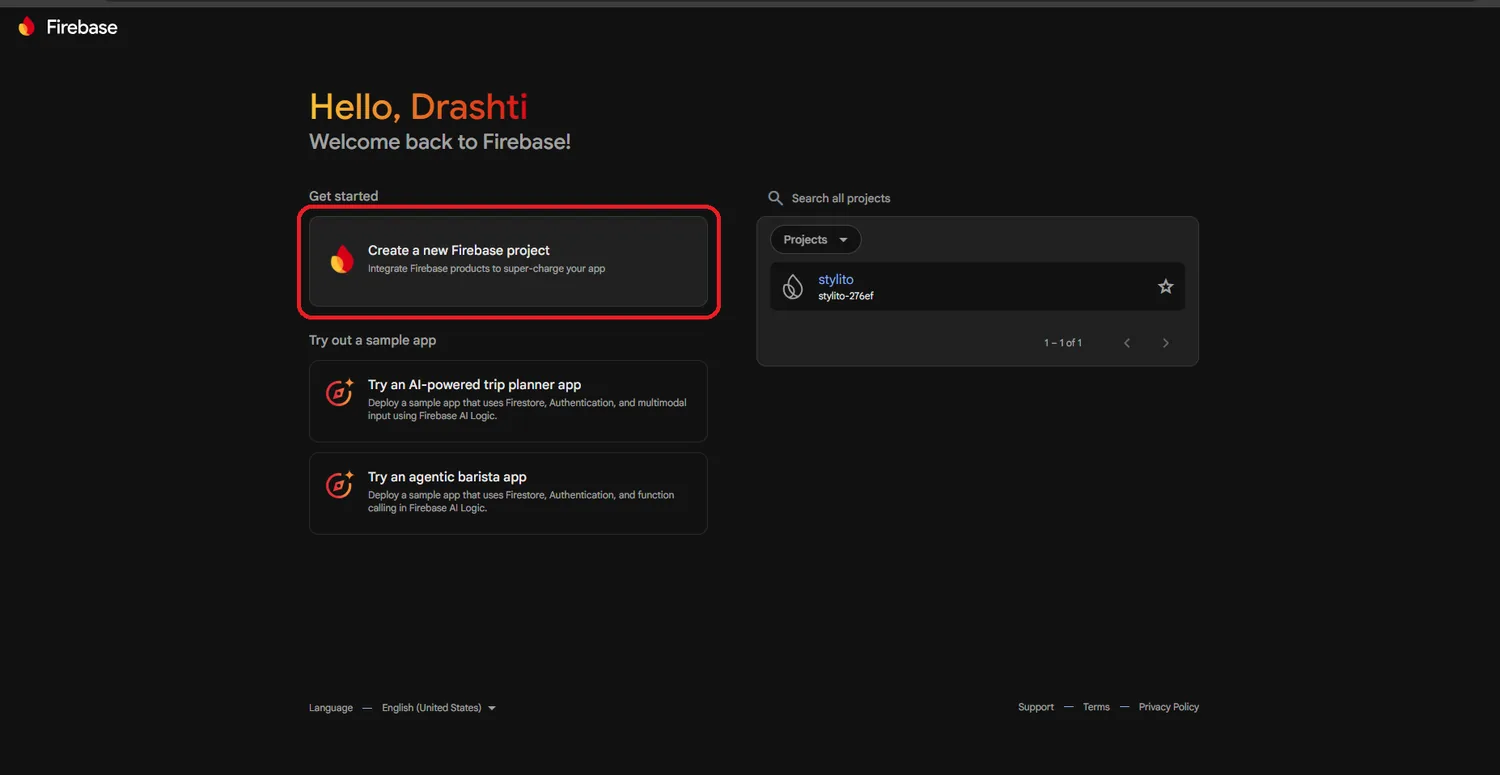
Click Create a new Firebase project.
Name it#
Type a name, for example Your Shop, and click Continue. Firebase makes a project ID from it, such as your-shop-a1b2c. You will see this ID again in the setup tool and in FlutterFire.
Google Analytics (optional)#
Analytics is not needed by Zipkart. Turn it off if you are unsure, then click Create project and wait about a minute until the project is ready.
One project for everything
The customer app and website, the store app and panel, the delivery boy app, the admin panel and the Cloud Functions all use this one project. Do not create a separate project per app.
Done
Your project exists. Next, switch it to the Blaze plan and turn on Storage.